step 1: getting animation range and .qc
real quick, keep in mind that this is how i make animations for tf2. there are multiple ways to do it, but this is how i do it.
first, you need gcfscape to open and get files from .vpk files, which are where the game's resources are stored, including the animations.
after installing gcfscape, navigate to tf2's tf folder. by default, it's:
C:\Program Files (x86)\Steam\steamapps\common\Team Fortress 2\tf
in gcfscape, navigate to
models\weapons\c_models
scroll down until you find c_[class]_animations.mdl.
right-click and extract it or just drag it out into a folder somewhere. For example, scout's animations:
next, you'll need to decompile the .mdl file. you'll need crowbar for this.
open up crowbar and go to the decompile tab. in the mdl input, click browse and go to the folder that contains your extracted .mdl. you can choose where you want the files to be extracted, in this case, the default is fine.
then click decompile.
then open blender and--make sure you have the blender source tools addon installed--go to the top left and select:
file > import > source engine (.smd, .vta, .dmx, .qc)
then navigate to where you decompiled the .mdl file. there should be a new folder with anim in the name. open that folder and you'll see a lot of .smd files. these are all of the viewmodel animations. some of them are obvious what they are, but some of them are named weirdly. i'll be making a pistol animation for scout, so i'll select p_draw.smd.
on the right panel, click on append to target and change it to make new armature.
then import the .smd.
then look at the timeline, you'll see the start and end frames; that's how long that animation is. so for scout's pistol draw, it's 21 frames (this includes frame 0). keep in mind this is 30 fps, if you want to animate in 60, change the frame rate in blender to 60 and double the frame range. now duplicate and place one of my rigs or n-cog's somewhere and open it up. if you don't want the saved ui loaded; close blender, open a new instance of blender, press ctrl + o to open a .blend file, navigate to a .blend file, click the gear in the top right, and uncheck load ui.
now copy the frame range from before in the copied .blend file. step 2: animating
on frame 0, go to the viewport, press i, and select whole character. this ensures that every bone has a keyframe, this is important. make sure to do this at then end of the animation as well.
i like to do this, but you don't have to; i keep frame 0 as a reference frame for the origin. so instead of it being from frame 0 to 20, it'll be from frame 1 to 21. remember to put how long the animation you've extracted is. for me, it's 0 to 20, or 1 to 21.step 3: exporting
this is one of the easiest parts.
make sure you have a start and end frame for all of bones or else it'll be broken in-game.
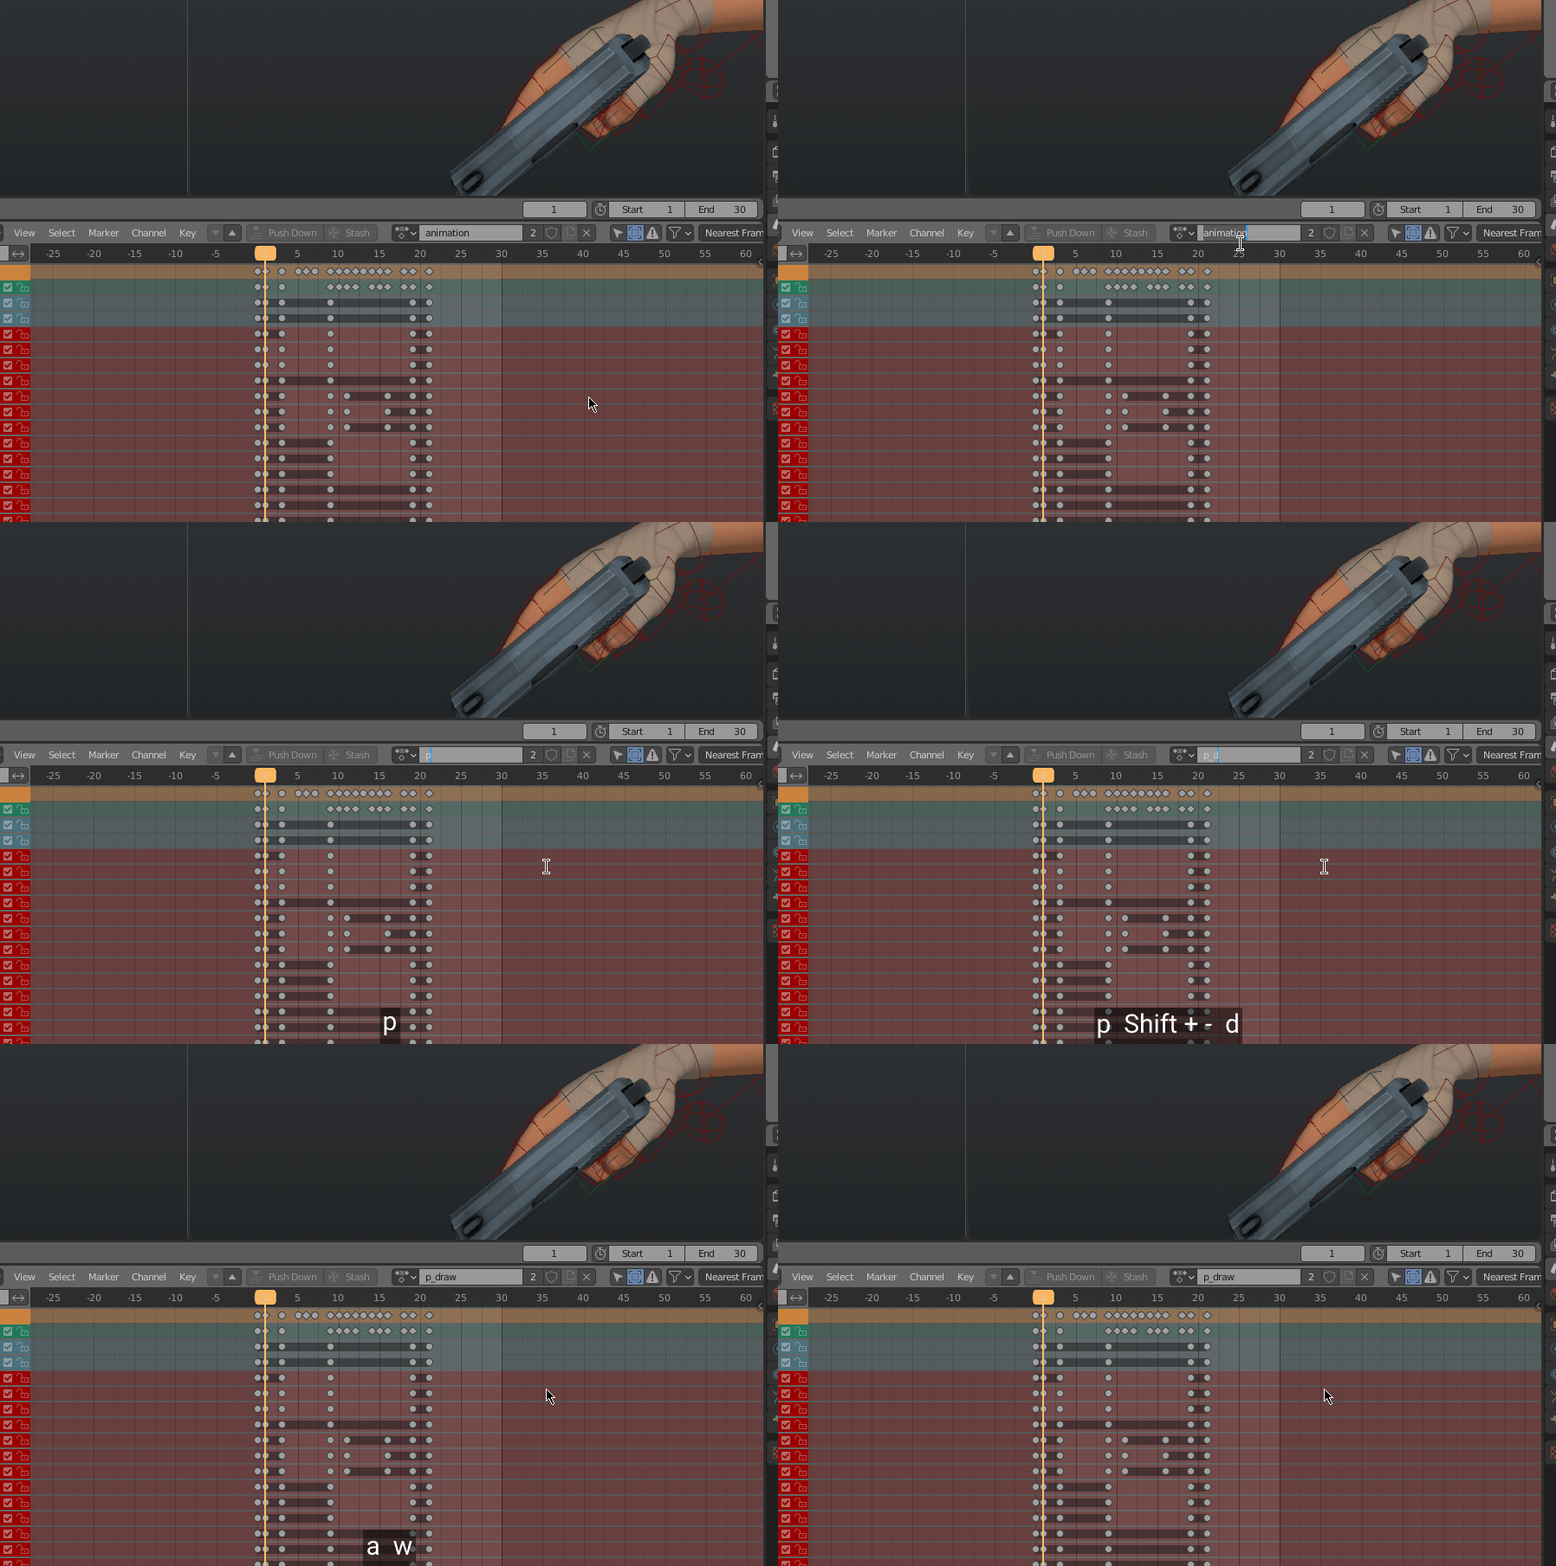
name the action the name of the .smd animation you want to replace.
i like to do this, but you don't have to; i duplicate the decompiled folder and rename it [class compile], as it will be the folder you compile with. now go to the scene properties tab and find the source engine export
in the export path, fill out where you want it to export. for me, i'll choose the anim folder in the newly duplicated folder i just created.
then change the export format to smd.
scroll down until you find subfolder and add / so that it doesn't create a new folder.
then click export.
step 4: qc editing
for now, we won't be editing much, but open the .qc file with a text editor in the compile folder
we'll get a little more in-depth later
hit ctrl + f or whatever it is for the find tool, and search for the name of the animation you edited. for me it's p_draw
you'll see something like this:
for now, only edit the fps. change it to 60 if you animated in 60 fps otherwise just keep it the same. in my case, i edited the draw, so i'll have to change it to 22 so that it doesn't get sped up in-game. if you edited a draw animation in 60 fps, change it to 44.
but only the draws
step 5: compiling
open up crowbar and go to the compile tab.
in the qc input, browse to your compile folder that contains the .qc file and put it in the field.
another thing that i like to do: change the output to a new folder called [class] compiled. if i'm testing an animation a lot, i would change the output to be in the custom folder.
make sure to change the game to team fortress 2
then click compile.
step 6: testing in-game
copy or just place the compiled folder to your custom folder. also make sure you dont have any other animation for the same class otherwise it might not work.
boot up the game and see if it works!


